SHARE
Creating a stunning flat lay for your wedding day is a beautiful way to capture and showcase all the intricate details and elements that make your special day unique. Here’s a comprehensive guide on how to build your wedding day flat lay:
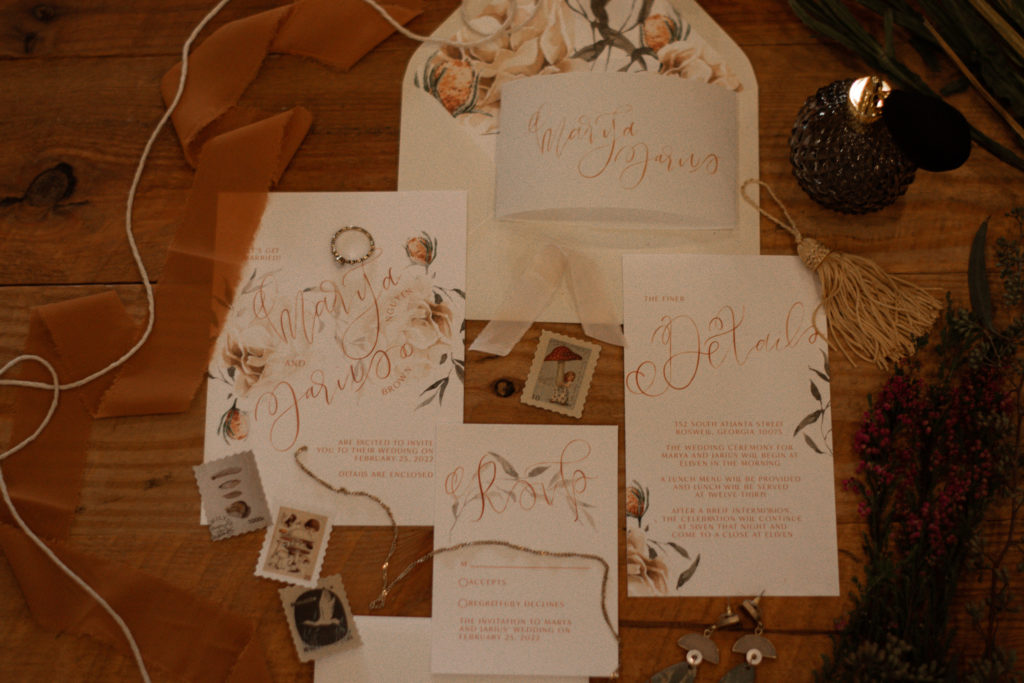
- Gather Your Essentials: Start by gathering all the essential items you want to include in your flat lay. This typically includes items like your wedding invitation suite, wedding rings, bridal accessories (such as shoes, jewelry, and veil), and any other meaningful details like vow booklets or family heirlooms.
- Select a Background: Choose a clean and neutral background for your flat lay to ensure that your items stand out and are the focal point of the composition. A smooth, solid-colored surface or a textured linen backdrop works well for this purpose. You can also get creative with alternative backgrounds like marble or wood grain.
- Arrange Your Items: Begin arranging your items on the background, starting with larger pieces like the invitation suite and bridal accessories. Arrange them in a visually pleasing layout, considering factors like balance, symmetry, and spacing between items. Experiment with different arrangements until you find one that you love.
- Layer and Add Depth: Create depth and dimension in your flat lay by layering items on top of each other. Place smaller items like rings or vow booklets on top of larger pieces like invitations or bridal shoes to add interest and visual appeal. Play with angles and perspectives to create depth in your composition.
- Incorporate Styling Props: Enhance the aesthetic of your flat lay by incorporating styling props that complement your wedding theme and color palette. Consider using elements like fresh flowers, greenery sprigs, silk ribbons, vintage stamps, or decorative trinkets to add texture and interest to your arrangement.
- Pay Attention to Lighting: Ensure that your flat lay is well-lit to capture all the details and colors accurately. Natural light is ideal for photography, so set up your flat lay near a window or in a well-lit room. Avoid harsh overhead lighting or direct sunlight, as this can create shadows and wash out the colors.
- Capture Different Angles: Experiment with capturing your flat lay from different angles to showcase all the details and perspectives. Take shots from directly above to capture the entire arrangement, as well as close-up shots to highlight individual items and intricate details.
- Edit and Enhance: After capturing your flat lay images, use editing tools to enhance the colors, contrast, and clarity of the photos. Adjust the brightness and exposure to ensure that the images look polished and professional. Consider adding a subtle filter or preset to maintain a cohesive look throughout your wedding photos.
By following these steps, you can create a stunning wedding day flat lay that beautifully captures and preserves the essence of your special day. Whether you’re a bride-to-be, a photographer, or a wedding enthusiast, building a flat lay is a creative and enjoyable way to showcase the intricate details and timeless elegance of a wedding celebration.